Basic Configuration
Google Optimize allows you to perform A / B tests on any page and check which page version gets the best results for your business. To use Google Optimize, you will need to install Google Optimize extension in your Google Chrome browser
Module Configuration for Optimize
In order to activate the Optimize code in PrestaShop, you must enter the Google Optimize ID in the corresponding tab of the module and, if necessary, edit the configuration of the hiding code. 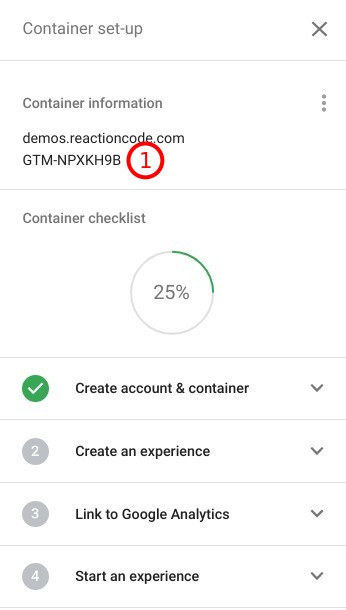
- Access the Google Optimize account and copy the container ID
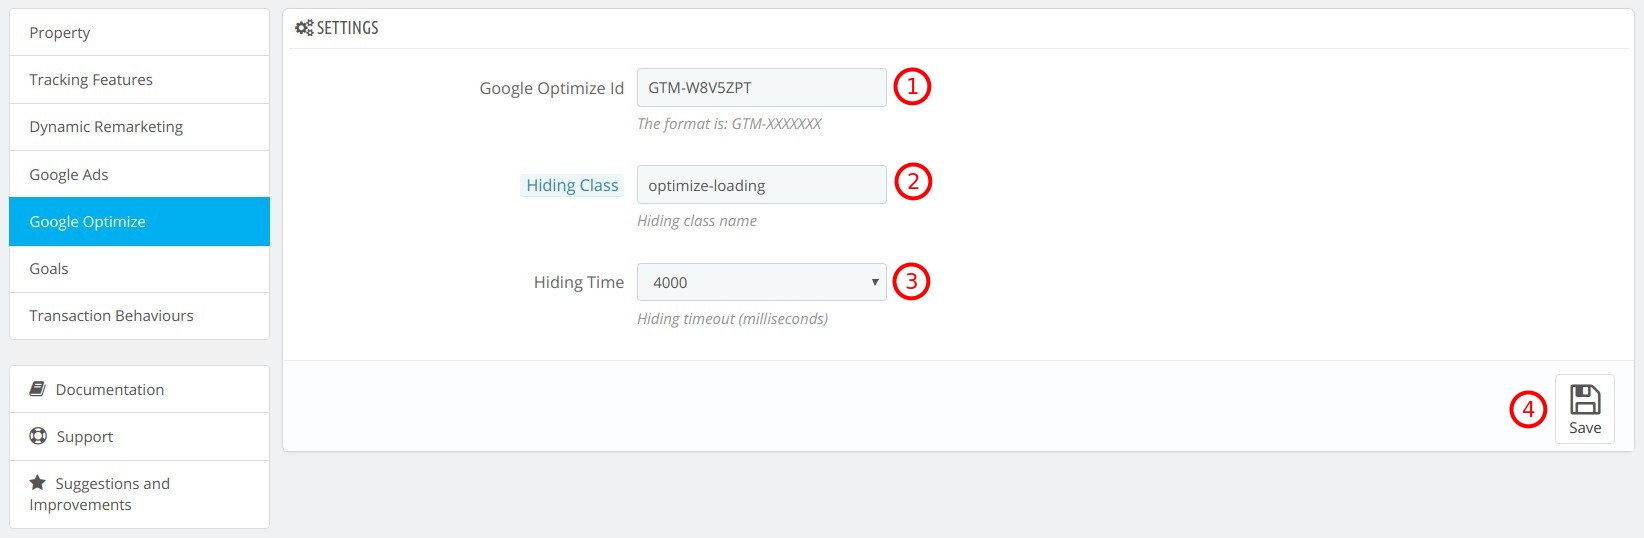
- Go to Google Optimize tab, paste container ID on Google Optimize ID
- Configure Hiding class name
- Configure max timeout for hide the page
- Click on Save
Note
By default, the module loads the anti-flicker code, but if the Hiding Class field is left blank, the module will not load the anti-flicker code. You can take advantage of this option only if your server is fast enough to load the pages, otherwise, a user could see the original page and then the page modified by the experiment, generating a bad navigation experience.
Link Optimize with Google Analytics
To be able to evaluate the results of the experiments it's necessary to link the accounts of Google Optimize with Google Analytics. 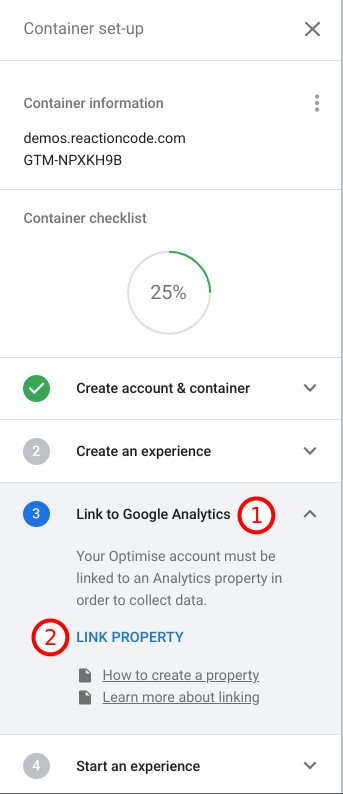
- In the left panel, click on Link with Google Analytics
- Click on Link Property
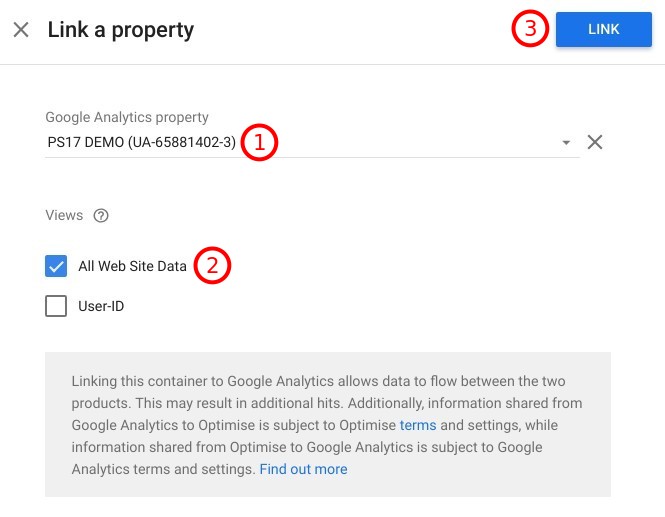
- Select GA account
- Click on Master View
- Click on Link
Note
Follow the official guides to have more information about the experiments types available in Google Optimize that are more interesting for your business.